Setting Up Your Computer with VMWare
If you have about 12-15 GB of free space on your computer and about 4-8 GB RAM, this is probably the easiest setup. The virtual-machine image comes completely configured with everything you need for the class so you can get started right away. Follow the steps below to get started with a virtual machine using VMware.
- Download the latest version of VMware software for your respective machine. You will need to authenticate with your BYU credentials to access these pages. Note that VMWare software is currently available to our students for coursework purposes. For Mac computers, download VMware Fusion 11. For Windows computers, download VMware Workstation 15 Pro.
- The software requires a license key.
- When you download the software, you should be given the license key. You can always return to software portal, click your account at the top-right, then “Your Account/Orders”, then “View Details” to view the license key for your order.
-
Download the the virtual-machine image from Box. You will likely need to authenticate with your BYU credentials. The file is in compressed form. Once downloaded, decompress this file. On most computers, double-clicking the compressed file will decompress it. If you are having trouble with the Box site, you can also try downloading it here.
-
From within the VMWare application, open the virtual-machine image that you have downloaded and decompressed. The open command will be under the File menu.
- Start the virtual machine by clicking the “play” button on the virtual machine.
- If you are on MacOS and get a Could Not Open /dev/vmmon error, see https://www.techcrumble.net/2019/07/could-not-open-dev-vmmon-broken-pipe-vmware-fusion-macos-mojave-error/.
-
Log in to the machine as cosmo. The password is cougar.
-
BACKUPS, BACKUPS, BACKUPS!!! The easiest way to make backups is to take regular snapshots of your VM. VMs do get corrupted from time to time. Having a recent snapshot will save you if your VM is corrupted. On the Mac version of the VM-Ware, the snapshot command is available under the Virtual Machine menu. Note that, depending upon the speed of your flash-drive, the snapshot will take about 5 or so minutes to complete.
-
Enable folder sharing. Going through the sharing menu under settings, select a folder on your PC for sharing. This will allow you to copy files back and forth between the VM and your PC. This can be helpful for making quick backups of your assignments onto your PC, just in case the VM gets corrupted (rare, but it happens).
Once you have selected the folder to share, open a terminal, paste the command below into the terminal, and hit return. The folder you previously selected will appear on the Desktop as “shared_folder”. I strongly recommend that you copy the text below and paste it directly into the terminal - don’t try to type it directly. Once you have performed this step, go into the “shared_folder” and you should see all of the files contained in that folder on your PC.
vmhgfs-fuse .host:/$(vmware-hgfsclient) ~/shared_folderThe video below provides a visual summary of steps 3 - 6.
-
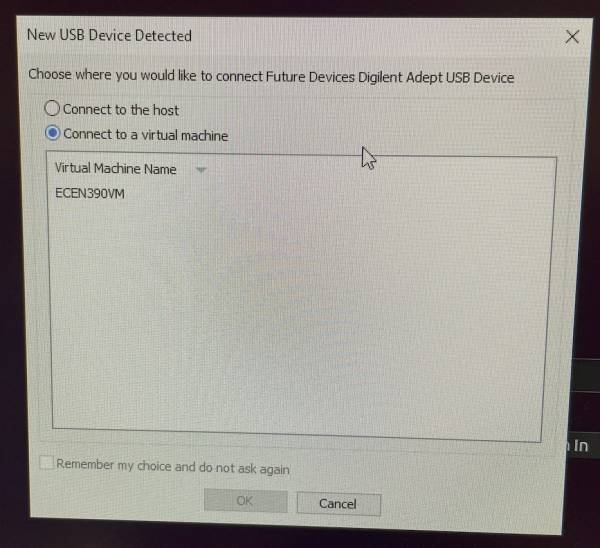
When attempting to first download to the 330 board, it will sometimes fail. If this occurs, turn the power off on the board, wait about 5 seconds, and then turn the power back on. You should see the dialog below appear after 5-10 seconds. Make sure to click the button as shown in the box. After that, your downloads will usually be successful.
-
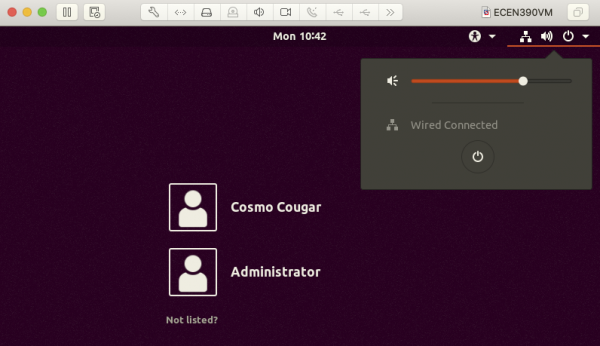
Important Make certain to always shutdown the VM and to quit VM-ware prior to removing your flash-drive from the lab computer. If you forget to do this, the VM image will be corrupted and you will not be able to start it. When this happens, you can restart from a previous snap-shot. Hence, the importance of taking regular snapshots. To shut down your VM, you can use the power-on button. On my Mac, it looks something like the screenshot shown below. I reached that dialog by clicking on the power-on button located to the far right on the top menu bar.