There are two ways for us to work on our PYNQ filesystem remotely:
-
Mounting the remote PYNQ filesystem on our local computer. This will make it appear as if the PYNQ filesystem is a folder on your computer. This allows us to use our computer’s processor to analyze and compile code, so it is much faster than working directly on the PYNQ board. This is what I would advise to use most of the time.
-
Connecting to the PYNQ board via VS Code Remote Extension, and editing and compiling on the PYNQ board. This will run much slower.
Method 1: Mounting the PYNQ Filesystem
📝 Run this on your computer.
-
Create a directory where you will mount the PYNQ remote filesystem. For example:
mkdir ~/pynq_remote -
Run the sshfs command to mount the remote filesystem:
sshfs -o idmap=user byu@PYNQ_IP:/home/byu/repo_path ~/pynq_remoteReplacing
PYNQ_IPwith the IP address or network name of your PYNQ board,~/repowith the path of your repository on the PYNQ board. -
Verify that you can view and edit the files on the PYNQ board, and open the files in VSCode. For example:
cd ~/pynq_remote ls touch test.txt code ~/pynq_remote -
You can unmount the filesystem by running:
fusermount -u ~/pynq_remoteYou will need to close any windows or terminals using this directory before the command will work.
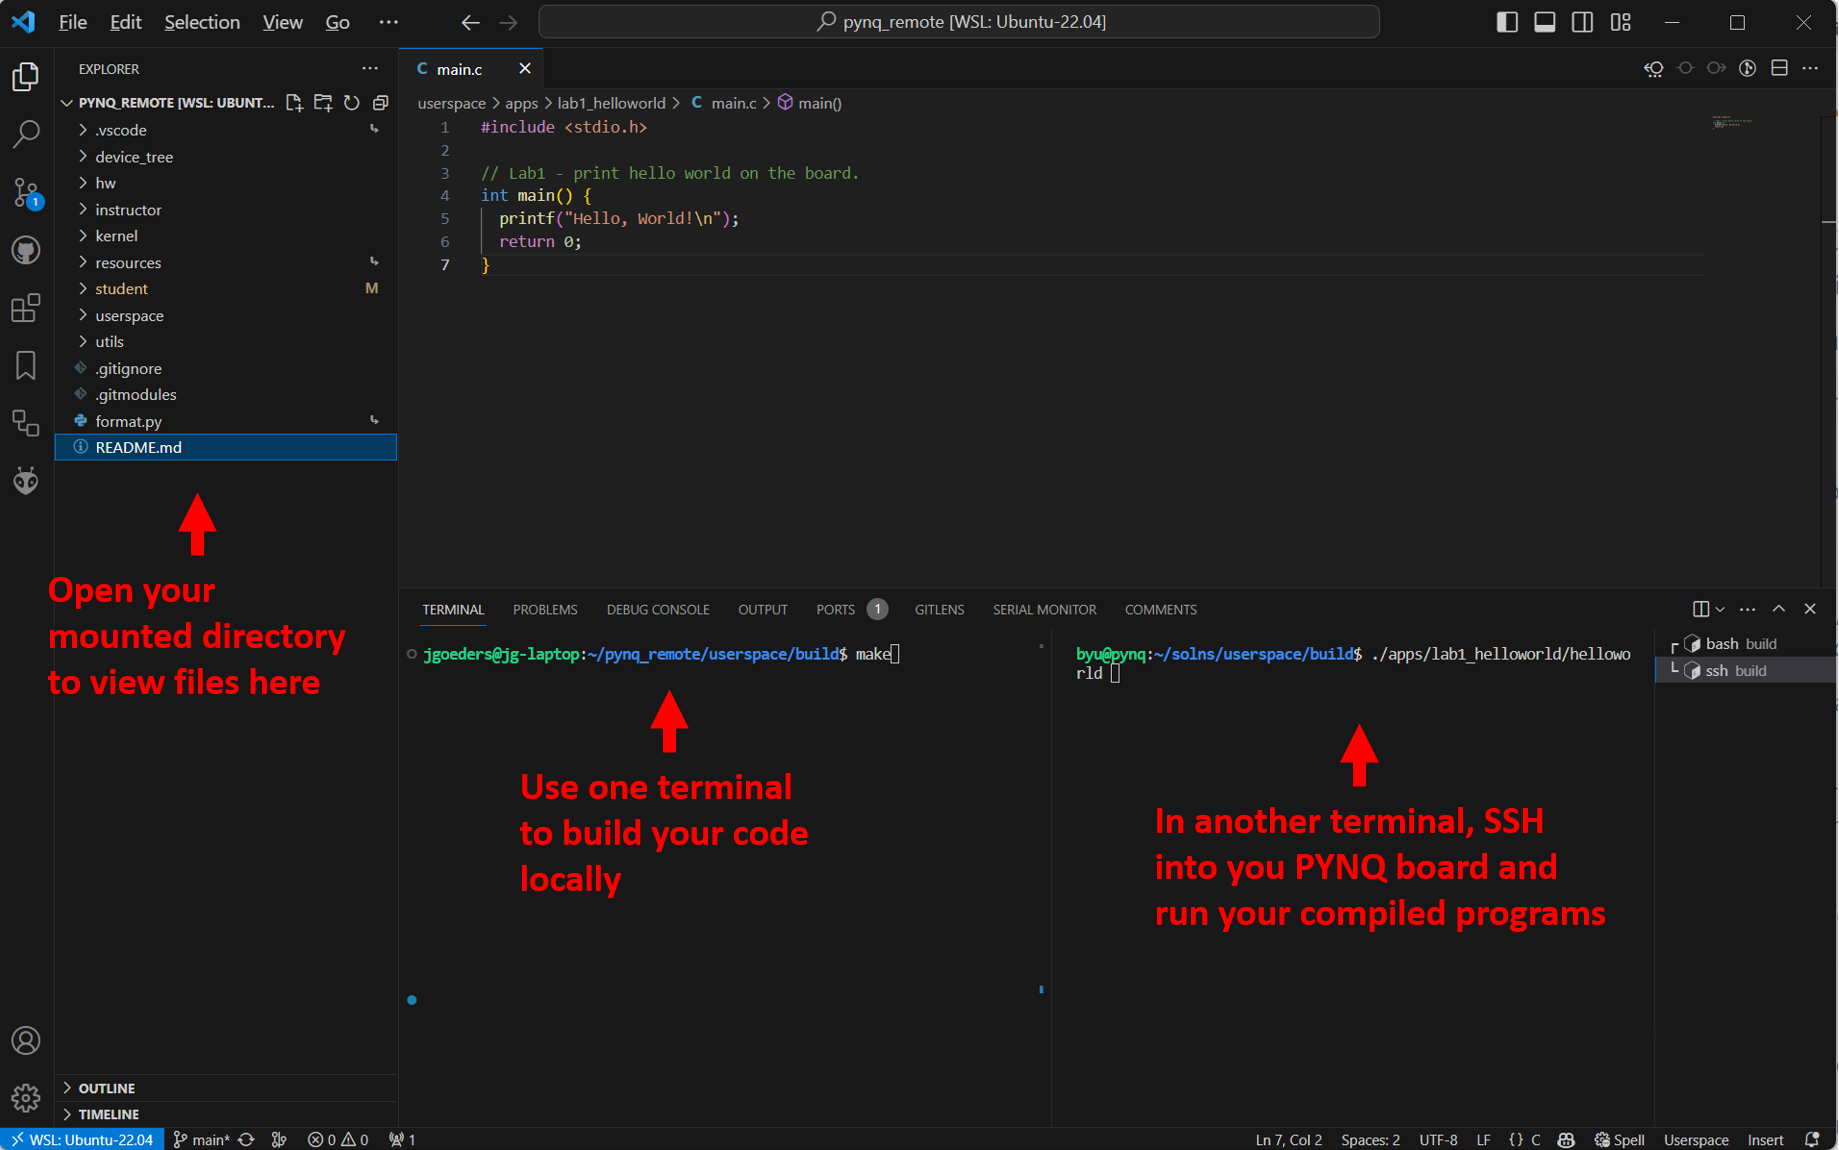
I like to set up my VS code like this:
Cross-Compiling
Method 2: Remote VS Code
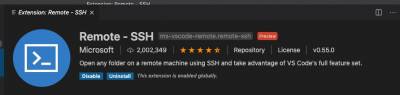
Install
Install the Remote - SSH extension from Microsoft.
SSH Keys
Before proceeding, make sure you set up your SSH keys (~/.ssh/id_rsa and ~/.ssh/id_rsa.pub) as described on an earlier page.
Note: If you are using Windows on your personal computer, VSCode will look for your SSH keys in your Windows home directory (not the WSL home directory). You may want to copy your SSH keys there:
cp ~/.ssh/id_rsa* /mnt/c/Users/<your windows username>/.ssh/
Connecting
- Click the blue button in the bottom left of VSCode, and select Connect to Host..
- Type in
byu@<PYNQ IP or hostname>and press enter. - A new VS Code window should pop up, and the VS Code server will be installed on your PYNQ board. This can take a few minutes. If an error pops up, try clicking Retry a few times.
- Once connected, the blue box in the lower left corner should display the IP/network name.
Opening a Folder
- You can now click File->Open Folder and then select your repository folder that you cloned on the PYNQ board.
- If you open a Terminal, it will be a remote terminal on the PYNQ board.