 ECEn 224/225
Table of Contents
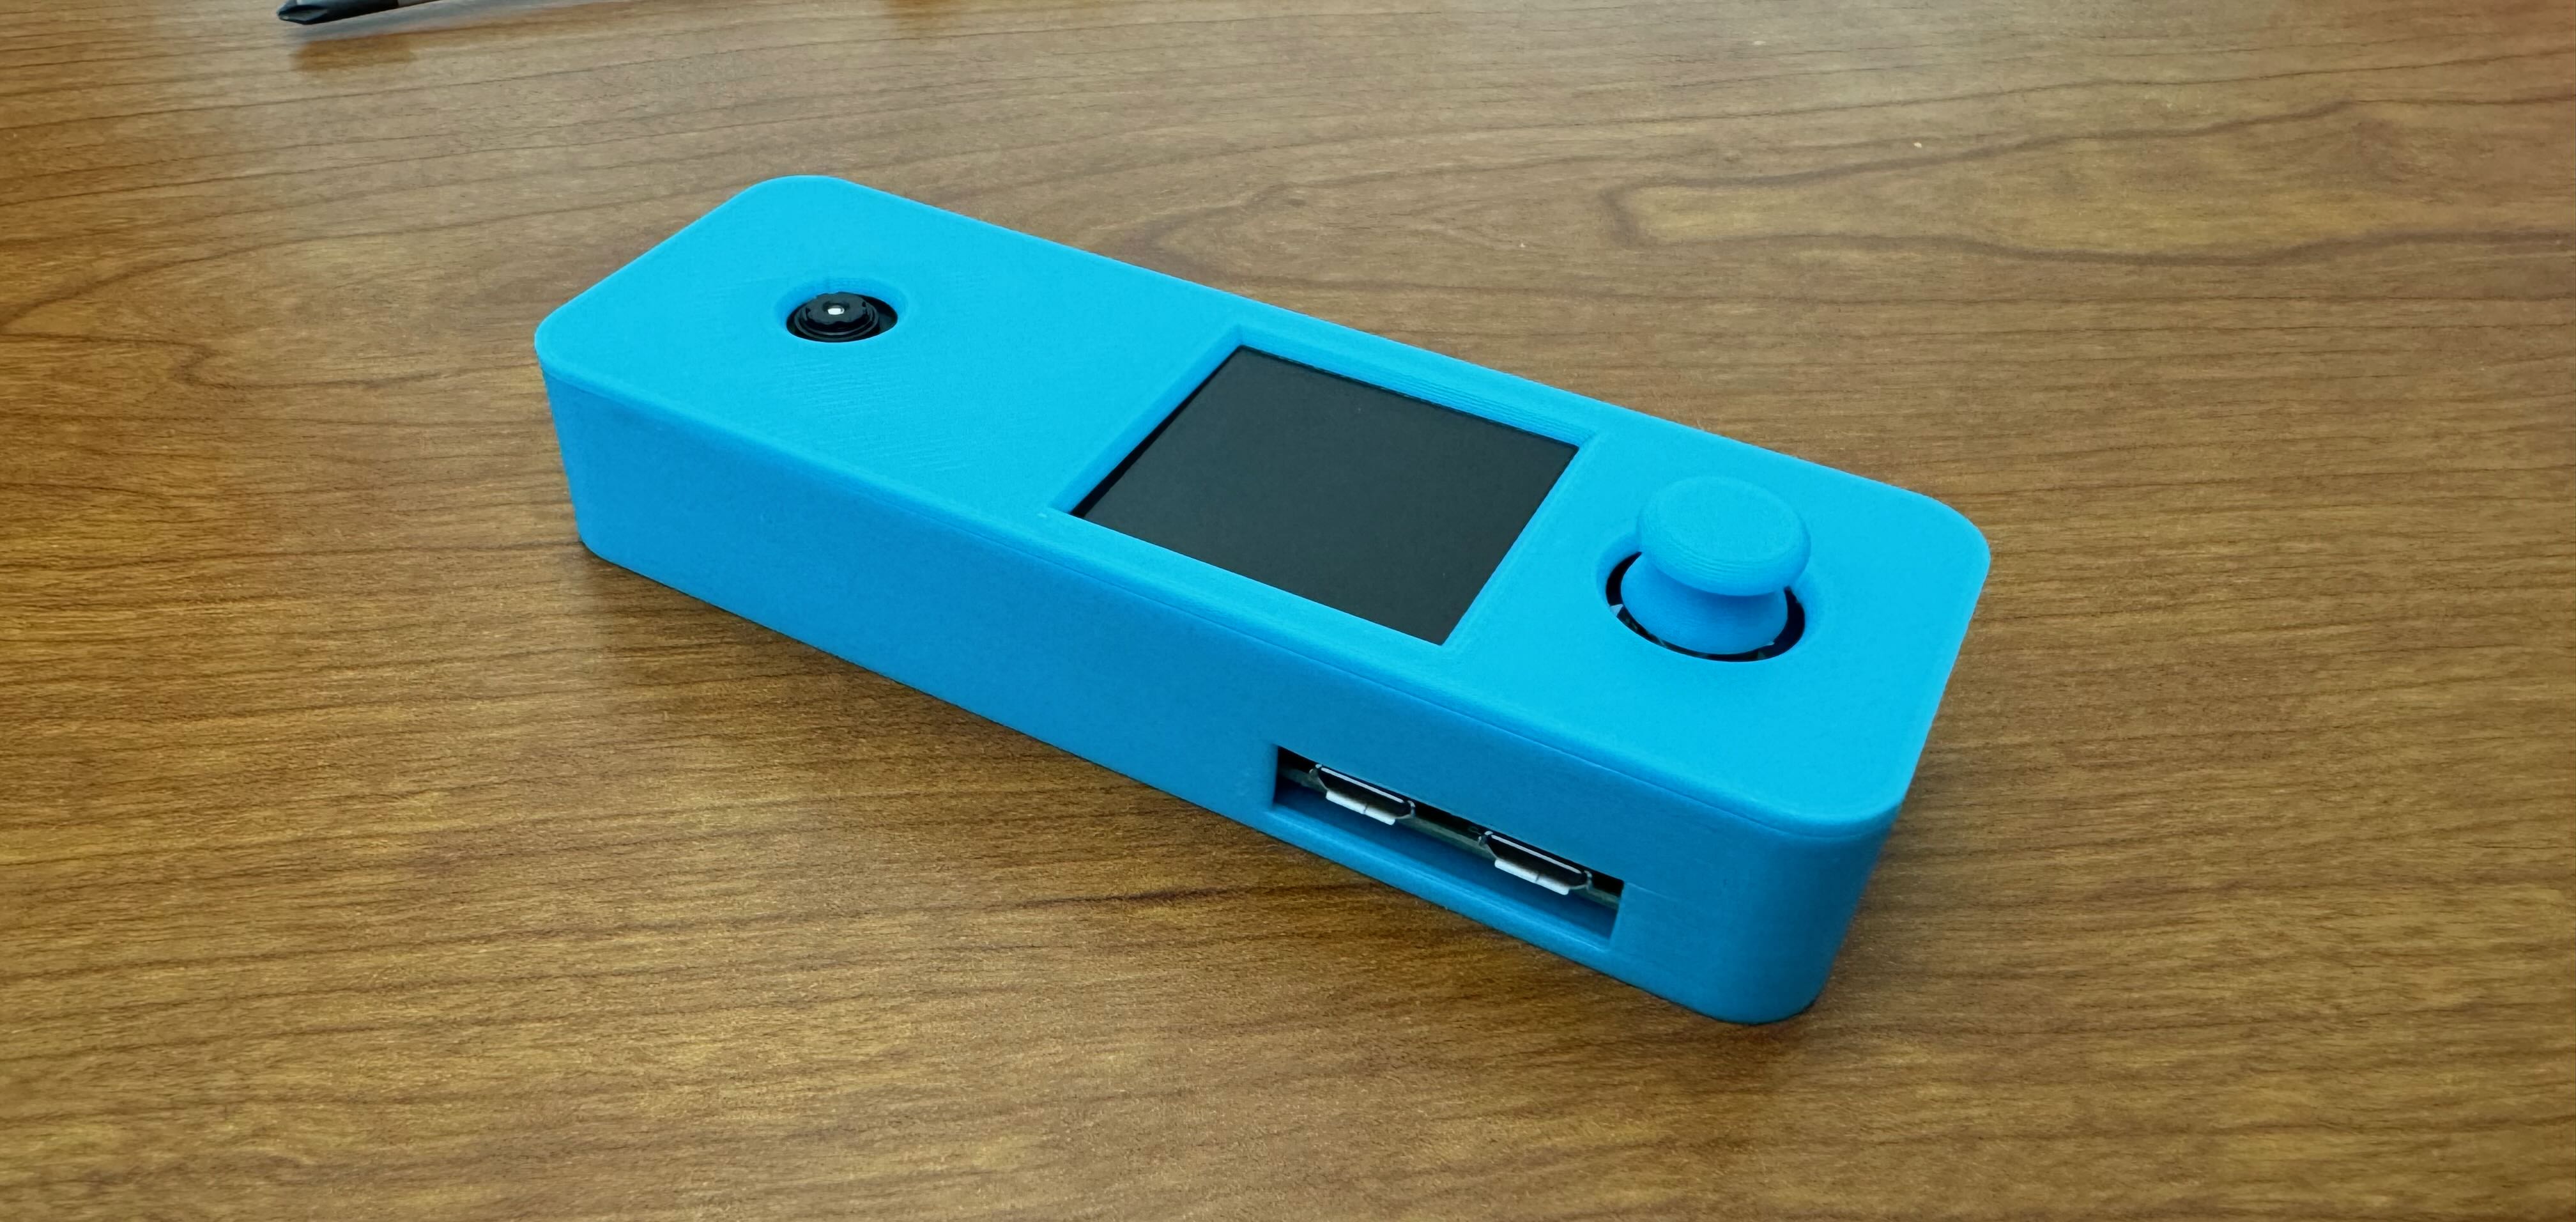
This course uses the smart doorbell unit based on the Raspberry Pi Zero 2 W (Pi Z2W) to teach core computing principles. The following instructions will help you prepare this single-board computer to support course activities.
Install Linux on SD Card
To use the doorbell, an operating system must be installed on an SD card. When inserted into the doorbell unit, the SD card acts as the main file system. An operating system (OS) is a set of programs that allows users to interact with hardware. Windows, macOS, and Linux are examples of operating systems, each tailored to different platforms. Linux offers a variety of distributions suited for different needs. The doorbell uses Raspberry Pi OS, a Linux distribution designed for Raspberry Pi devices.
Normally, you would use the Raspberry Pi Imager tool to install the OS. However, due to lab machine limitations, follow this alternative method.
-
Open a terminal on your lab machine using the Activities menu or the shortcut
Ctrl+Alt+T. Download and run the imaging script by entering:cd /tmp wget https://raw.githubusercontent.com/philipbl/ecen225-image/refs/heads/main/imager.sh chmod +x imager.sh ./imager.sh(Use
Ctrl+Shift+Vto paste into the terminal after copying the command.) -
Wait for the script to complete. It may take a long time; it will prompt you for input during the process.
-
After the script finishes, remove the SD card from the computer and insert it into the SD card slot of the doorbell unit.
Connect to Doorbell over SSH
Use a Power over Ethernet (PoE) adapter—a white brick at each lab computer—to power the doorbell. PoE transmits both power and internet through a single Ethernet cable, eliminating the need for separate power cables. While not all Ethernet ports support PoE, every port in the Digital Lab does.
To power the doorbell, unplug the Ethernet cable from the PoE adapter. Connect the adapter to the left Micro USB port (labeled USB). Reconnect the Ethernet cable to the PoE adapter. This sequence ensures the network assigns an IP address to your doorbell unit over the Ethernet connection.
Allow up to three minutes for the doorbell to boot. When the system is ready, the display will show a blue screen with two addresses: the localhost address (127.0.0.1) and an assigned IP address in the form 10.32.X.X. If the IP address does not appear, unplug the Ethernet cable from the PoE adapter and reconnect it. If the issue continues, notify a TA.
With Raspberry Pi OS Lite installed and the doorbell connected to the lab network, you can now access it remotely using ssh. This allows you to log into the doorbell from another machine, such as the lab computer.
-
Verify that your lab machine can detect the doorbell. Open a terminal (
Ctrl+Alt+T) and run:# replace NETID with your NetID ping doorbell-NETID.localIf the output shows:
ping: doorbell-NETID.local: Name or service not knownthen the doorbell is not connected to the lab network. Confirm the Ethernet cable is connected properly to both the correct port on the doorbell unit and the wall jack in the lab. Wait several minutes before retrying. If it still fails, seek assistance.
If the output shows:
 PING doorbell-NETID.local (192.168.86.48) 56(84) bytes of data.
 64 bytes from doorbell-NETID.local (192.168.86.48): icmp_seq=1 ttl=64 time=95.7 ms
 ...
 # it will keep pinging until you stop it
press
Ctrl+Cto stop the ping. Your lab machine can now communicate with the doorbell. -
Log in via SSH:
ssh NETID@doorbell-NETID.localEnter the password set earlier. Nothing will appear as you type. Press
Enterwhen finished. -
When prompted to confirm trust in the remote machine, type
yes. -
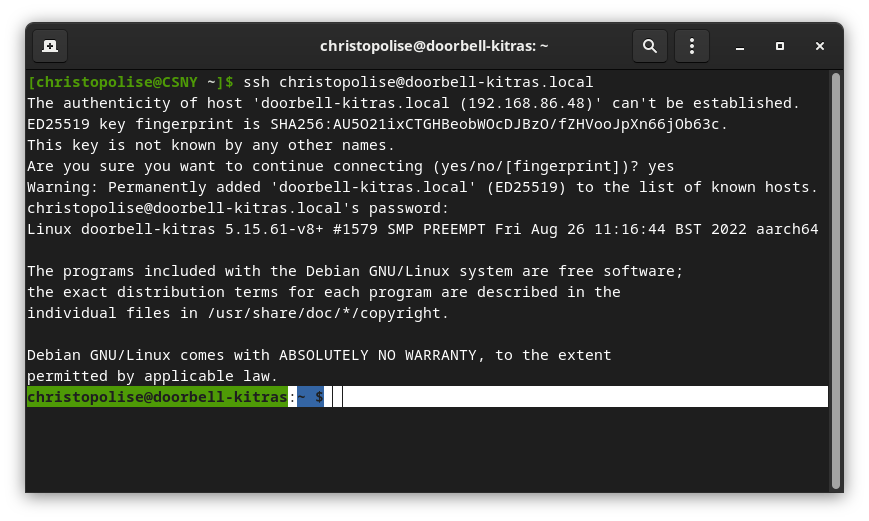
Once logged in, look for the command line prompt:
➜ ~
-
Press the enter key a few times to make sure the prompt is working. It will just repeat itself every time you press enter.
-
Type
exitto logout of the doorbell and return to the lab machine command prompt.
Generate and Copy SSH Keys
Setting up an SSH key on your doorbell unit will allow you to login to your unit and synchronize files without typing a password each time.
-
To generate an SSH key, type the following at a lab machine terminal:
ssh-keygen -t ed25519 -C "your_email_address"The tool will ask you several questions. For our purposes, the default values will suffice (i.e., just hit
Enteruntil it finishes) unless you desire to protect your key with a password (not recommended for this class; it would require you to enter in a password any time you want to use the SSH key). -
Once this is done, you can find the contents of your new SSH key by typing:
cat ~/.ssh/id_ed25519.pubNOTE: Make sure that you
catthe values ofid_ed25519.puband NOTid_ed25519. The contents in the.pubare meant to be shared with thepublic and the contents of the other file are not meant to be shared with anyone else. -
Copy the key to your doorbell unit. Replace NETID with your NetID in the command below.
ssh-copy-id NETID@doorbell-NETID.local -
Test logging into the doorbell unit through SSH. After typing the following, you should be logged directly into the doorbell without a password prompt.
ssh NETID@doorbell-NETID.local
Install Rsync Extension in VS Code
After the Rsync extension is set up, it allows you to automatically synchronize your workspace files on a lab machine to the doorbell file system using the rsync utility. Every time you hit Save, the extension instantly pushes the changes to the doorbell in the background.
-
Launch VS Code from your
ecen225/doorbellrepository or set the VS Code workspace to this directory. -
Install the Sync-Rsync extension:
- Click the extensions icon:

- Search for
Sync-Rsync - Click Install on the extension by vscode-ext
- Click the extensions icon:
-
Within your doorbell repository, edit the provided
.vscode/settings.jsonfile. Find the line shown below and replace NETID with your NetID.- “sync-rsync.remote”: “NETID@doorbell-NETID.local:doorbell”,
-
Save the
settings.jsonfile.
Install BCM2835 Library
To access the LCD and button module in your doorbell unit, we need to install the BCM2835 library.
-
First, make sure that you are logged into your doorbell unit and in your home directory:
ssh NETID@doorbell-NETID.local cd ~ -
Then use
wgetto download the compressed archive with the library from the developer’s website:wget http://www.airspayce.com/mikem/bcm2835/bcm2835-1.71.tar.gz -
Once the file has downloaded, uncompress the archive using the
tarutility:tar xvfz bcm2835-1.71.tar.gz -
Go into the uncompressed directory:
cd bcm2835-1.71 -
Run the
configurescript. This will gather operating system information before building the library so it knows how to work specifically on the Pi Z2W architecture:./configure -
Now, run the
makecommand to compile the library’s source files (i.e., all its.cfiles):make -
Finally, copy the compiled binaries to the system library folder:
sudo make install
Now that the bcm2835 library is installed, we can use it in any C program that we like! However, since this is an installed library and not a default one, we have to let gcc know that we are trying to include it in the compilation process. This is done by adding the -l bcm2835 flag to our normal gcc compilation command. The -l lets gcc know we are including a custom system library, while the bcm2835 part is just the name of the library itself.
You don’t need to worry about including this flag in your lab projects since the Makefile in the starting code already includes the flag.
Proper Shutdown of Doorbell Unit
Always shut down the doorbell gracefully before unplugging power. Pulling the power on a running Raspberry Pi can corrupt the SD card. Linux temporarily saves file data in memory and only flushes changes to the SD card periodically; if power is cut before flushes complete, the filesystem can be left in an inconsistent state, which often results in a Pi that will no longer boot. shutdown flushes pending writes and halts the system cleanly. After that, unplug the PoE adapter from the Micro USB port.
-
When logged into your doorbell (through SSH), type the following:
sudo shutdown now -
After the screen goes blank, unplug the PoE adapter from the Micro USB port to remove power.