PuTTY is a computer application that allows a user to send and receive character data from an external device to a host computer over a serial port. You will be using PuTTY to communicate between the Basys3 board and your computer. This tutorial describes how to run and setup PuTTY to communicate with the Basys3 board on the digital lab computers.
Before starting the PuTTY application, plug your Basys3 board into the computer using the USB cable and turn on the Basys3 board.
Make sure the board is properly connected to your computer by checking for the /dev/ttyUSB1 serial device.
ls /dev/ttyUSB*
If this device is not present, you will not be able to run PuTTY. Contact a TA to help you resolve this issue.
Start the PuTTY application from the command line by typing putty & or launch it from the application menu.
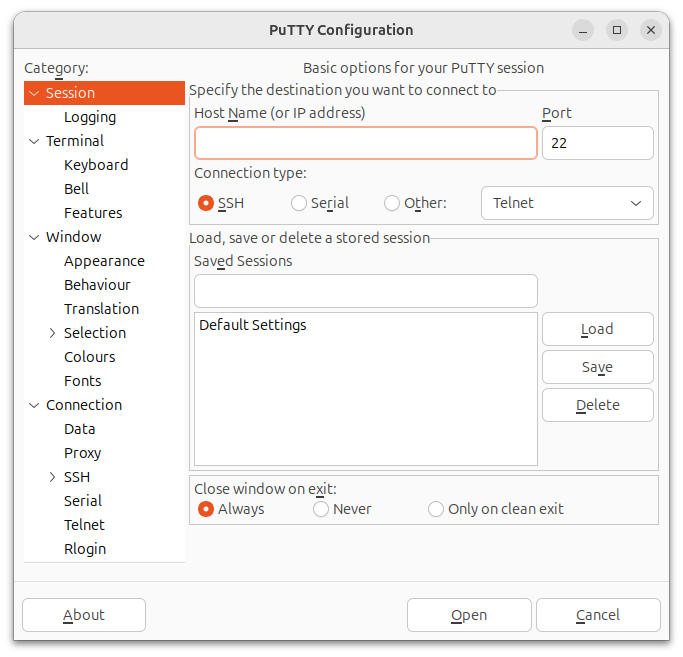
You should get the putty home screen show below:

Under the Connection type: section change the selection from SSH to Serial.
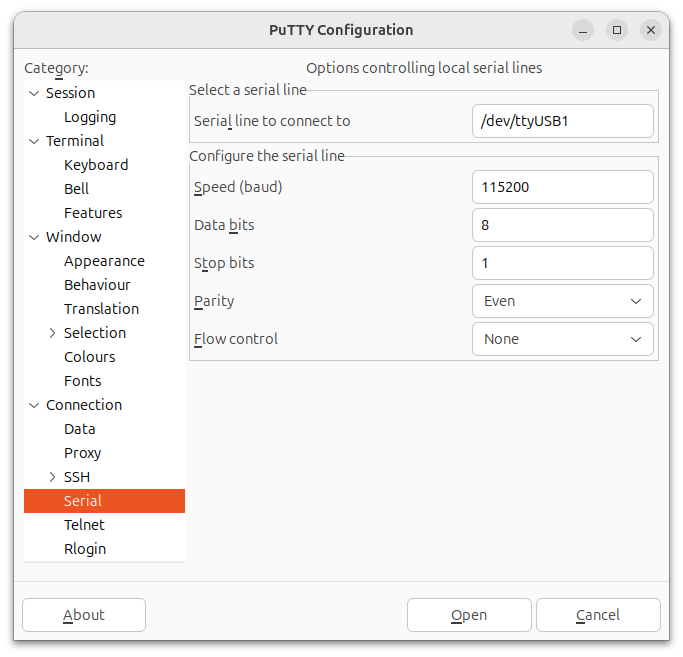
Next, click on the “Connection->Serial” category on the left sign of the screen. Enter the following information into this screen:
- Serial line to connect to:
/dev/ttyUSB1 - Speed (baud):
125000 - Data Bits:
8 - Stop Bits:
1 - Parity:
Even - Flow Control:
None
Your screen should look something like this:

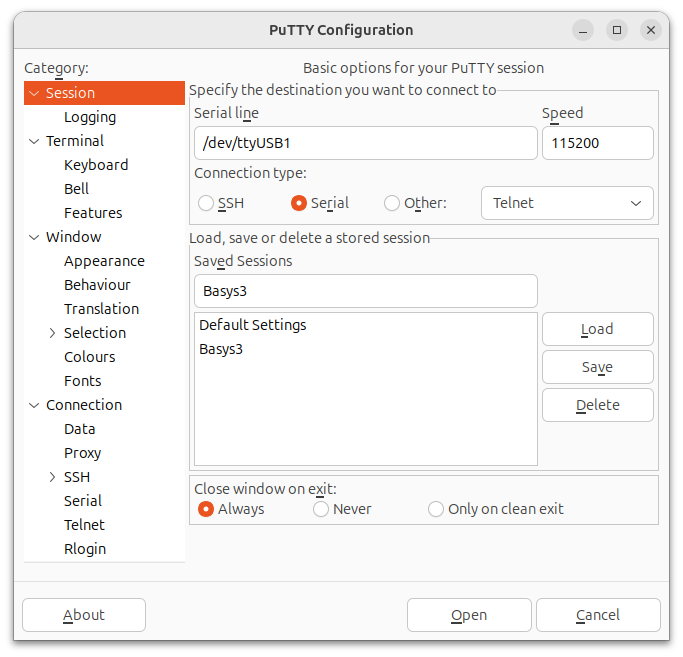
Click on the “Category->Session” category on the left sign of the screen.
Type Basys3 in the ‘saved sessions’ box and click “Save”.
Your screen should look something like this:

At this point putty is configured to communicate with the Basys3 board. Click “Open” to open a session.
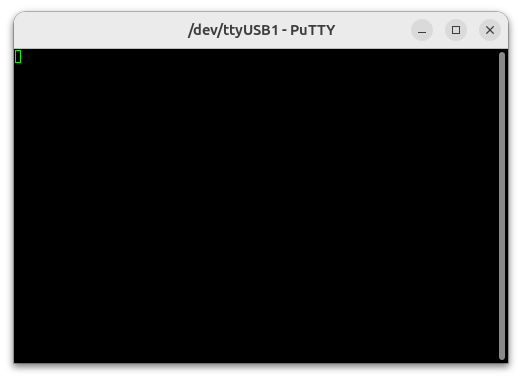
Next time you connect to the board, select the ‘Basys3’ configuration you created, click “load”, and then press “Open” to open the session so you don’t have to reconfigure the session again. You should see a terminal window such as the following:

Once the terminal emulator program is configured properly you should be able to send characters to the terminal by selecting the ASCII value of the character to send.
Interesting control commands:
- 8’h07 - Bell (a sound, not a character)
- 8’h09 - Tab
- 8’h0C - Clear screen
- 8’h0A - Move cursor down (Line Feed)
- 8’h0D - Carriage Return
The above are called “control characters” since they control the screen rather than draw characters. They are typed on normal keyboards using the “Control” key pressed concurrently with another key. This is similar to how a shift key is used. Thus, when you hit Control-C to kill a program on a computer, you are sending (or at least with older computers were sending) the ASCII character 8’h03.