Table of Contents
The simulator is your best friend in debugging your modules, but it doesn’t seem like it at first. This tutorial is designed to teach you some basic Tcl commands and how to use them in the simulator. As you continue to use the simulator you will find additional shortcuts and tools that will make your job much easier.
The Basics
Tcl is a high-level scripting language that is often used within other programs. Vivado gives you the option of using only Tcl commands to interact with your designs - to the extent that you wouldn’t even need the Vivado IDE! However, much of that is beyond the scope of this course. The purpose of this tutorial is to teach you specific Tcl commands that will allow you to simulate your modules.
Your first task is to create a file that will contain your Tcl commands. Every lab you make should have it’s own folder of Tcl files. Theoretically, every time you wanted to test a module you could type out a long list of Tcl commands but that process is tedious and slow. Instead, a .tcl file will allow you to run a script and modify it without retyping everything.
To create your file, click on File->Text Editor->New File then name the file something and include .tcl at the end. Vivado should automatically open it for you in the GUI, but if not click File then Open File and search for it. IMPORTANT: make sure the .tcl file is inside your project directory (which should be in your home directory).
Now we will discuss the three main commands you need for simulation.
The Big Three
1. restart
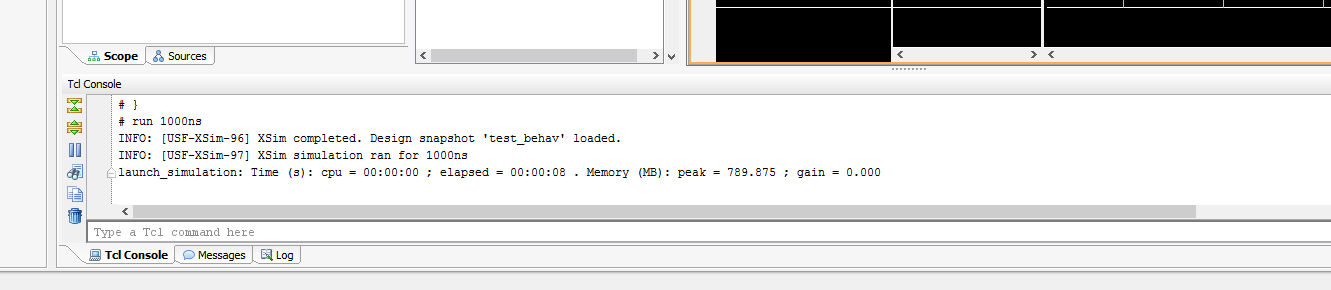
While the restart command isn’t necessary for simulation, it makes things much easier to read. When you first start the simulation, the simulator runs for 1000ns by default (unless you change the Simulation Settings). However, you haven’t declared the values of your inputs yet, so you aren’t going to get any useful information from the outputs. To get rid of that first 1000ns you can use the restart command to clear it before you start simulating. Alternatively, you could press this button which does the same thing:

2. run
The run command allows you to see how your program behaves over a period of time. This is extremely important when using things like clocks and counters, but it is still useful for combinational designs. Instead of watching the circuit change values on its own, we change the value of the inputs at certain times and see the resulting outputs. Then we can visually place everything together to get a sense of how our circuit behaves. Note that everything is ideal in the simulator - there are no gate delays or false outputs.
Here’s an example of the run command:
run 15ms
The assumed units are ns, but you can use whatever units you need. Usually you’ll never need to simulate something for more than a few ms.
3. add_force
The add_force command allows you to assign a value to an input wire in your module.
Here’s the basic syntax of the add_force command:
add_force <signal name> <value>

add_force buttonPress 1
We state the name of the input, give it a value (usually 0 or 1), and then the simulator will update that signal and all the other signals that depend on it. For signals that do not change during the simulation this is all we need. However, if we wanted to change the value midway through the simulation we could do something like this:
add_force wireA 1
run 10ns

add_force wireA 0
run 10ns
We set wireA to a value, run the simulation, set it to a different value, and then run it again. This allows us to see the change in the outputs in the simulation window. In the following code, we do this with multiple signals. Note that wireC does not have an add_force in the second block. If that happens, wireC will retain its previous value. While this may seem like a convenient shortcut, the main benefit of writing out each add_force is that you can see what each wire is for each block of time. It makes it easy to modify your Tcl file and determine what combinations might be giving you errors.
add_force wireA 1
add_force wireB 0
add_force wireC 0
add_force wireD 1
run 10ns

add_force wireA 0
add_force wireB 1
add_force wireD 1
run 10ns

add_force wireA 0
add_force wireB 0
add_force wireC 1
add_force wireD 1
run 10ns
Running your Tcl Files
There are two ways to run a simulation with your Tcl files. In either case, you first need to have a simulation open. Then, do one of the above:
- Make sure your Tcl file is open in Vivado. Right-click anywhere inside it and the last option at the bottom of the menu that pops up will be to run it in the simulator.
- Or, open your Tcl File. Copy its contents and paste them into the Tcl command line.
Obviously, the first option is easier. But, if for some reason you have your commands somewhere else other than in the Vivado editor you can use the second method.
One More Thing About Tcl Files
Imagine you have opened a simulation and are editing your Tcl file. You can edit it repeatedly and re-run it repeatedly using method #1 from above. If your Tcl file has a “restart” at the top, it will just restart the simulation, meaning reset the circuit to its initial state and re-simulate it. Thus, you can avoid having to restart the simulation repeatedly as you edit Tcl files.
HOWEVER, if you actually edit your SystemVerilog code then restarting the simulation in this way will not work. You MUST re-compile your new circuit description. This can be done by selected “Re-Launch Simulation” from the “Run” menu in Vivado (the Run menu will only appear if you have a simulation currently running). You can tell it has re-compiled your design when it uses terms like “analyze” and “elaborate” to describe its progress. When in doubt, kill the simulation and re-run it from scratch.
That is all the information you need to start making your own Tcl files. In lab 4, you will cover more features of Tcl commands that will make it easier for you to fully simulate your modules.