You will use GitHub for all labs in ECEN 320. You will create a GitHub repository that will serve two purposes: first, it will provide the initial files for you that are necessary for completing the lab and second, you will use your repository to submit your files for the laboratory passoff. Because we will use GitHub extensively for the course, it is necessary for you to create a GitHub account and become familiar with how git works. This tutorial page will describe how to setup your class GitHub repository.
Before proceeding with this page, make sure you have a GitHub account and can log in to the GitHub page.
You will need to create a GitHub classroom repository (called a ‘repo’ for short) for your ECEN 320 labs. A GitHub repository is a cloud storage that contains all of your class files and file revision history. This section describes how to create this repository. You will only need to create this repository once during the semester.
1. Create an empty class repository
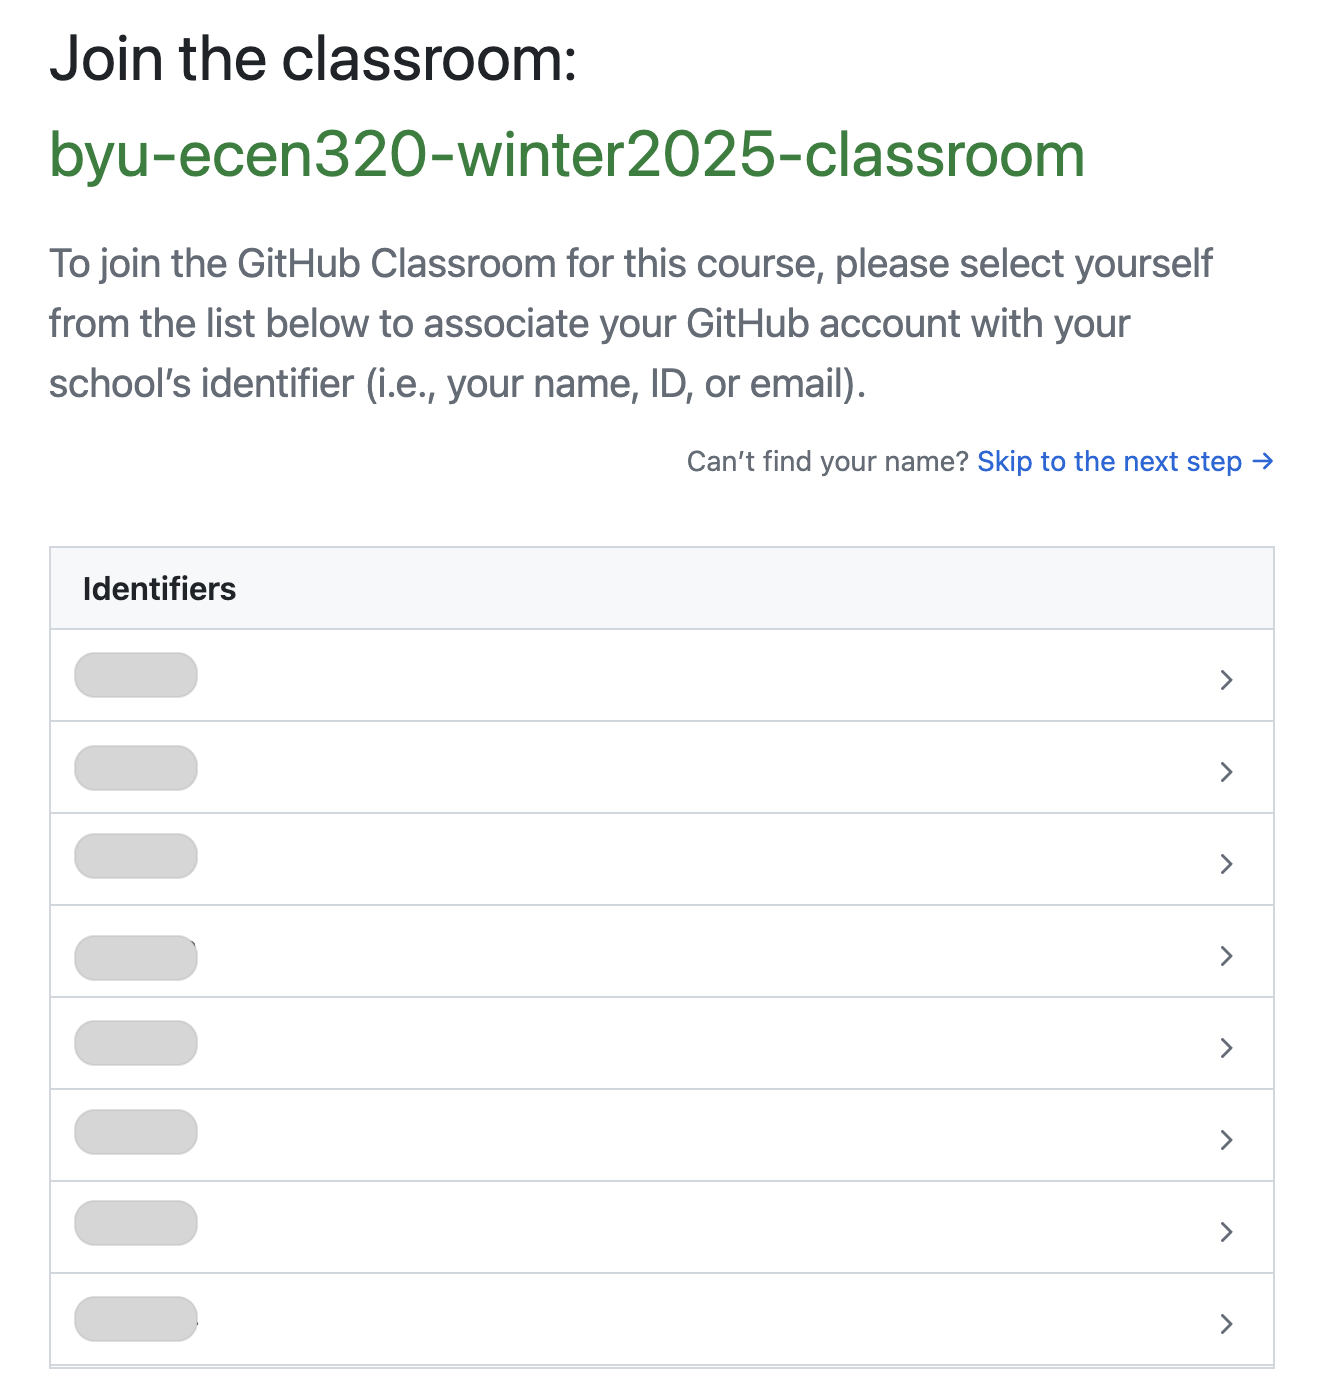
The first step is to create an empty class repository within the GitHub classroom assignment. Create this repository by accessing the following link: https://classroom.github.com/a/y__rMFci. This link will take you to the classroom page and list the netid’s of students in the class (the netids in this image have been grayed out). Select your BYU netid from the list (by selecting your netid from the list GitHub will match your netID with your classroom repository). Contact a TA or the instructor if you do not see your netid on the list.

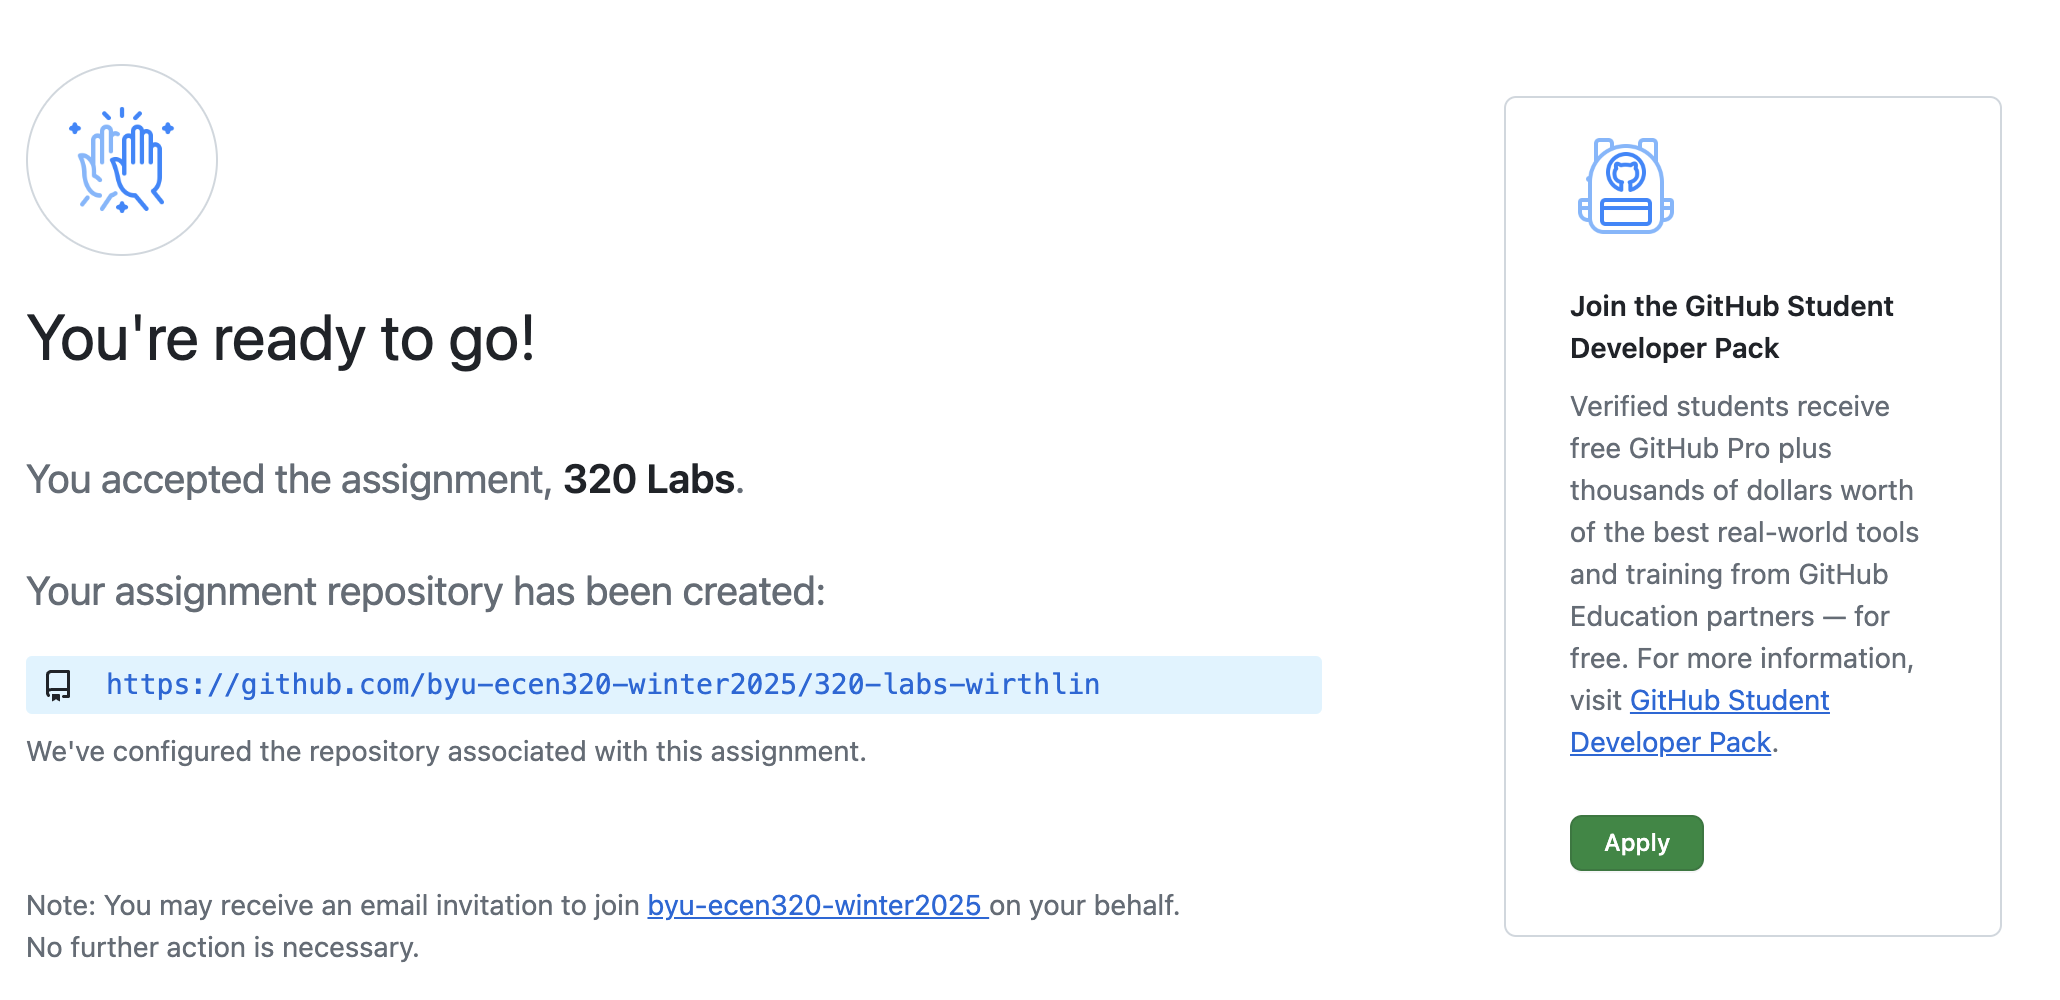
After selecting your netid, you will be given a screen like the one shown below to confirm that the classroom repository has been properly created.

You now have an empty classroom repository.
2. Make Sure GitHub ‘Actions’ are enabled
GitHub ‘Actions’ is a continuous integration and continuous delivery (CI/CD) platform that we will use in this class for lab submissions. You must have GitHub ‘Actions’ enabled in order to properly submit your labs. Your repository may or may not have GitHub Actions enabled when it is first created.
To enable GitHub actions, visit the URL of your repository in a webpage.
The URL of your repository is https://github.com/byu-ecen320-winter2025/320-labs-<githubid> where <githubid> is your unique GitHub ID.
The top of the web page along with the toolbar should look something like:

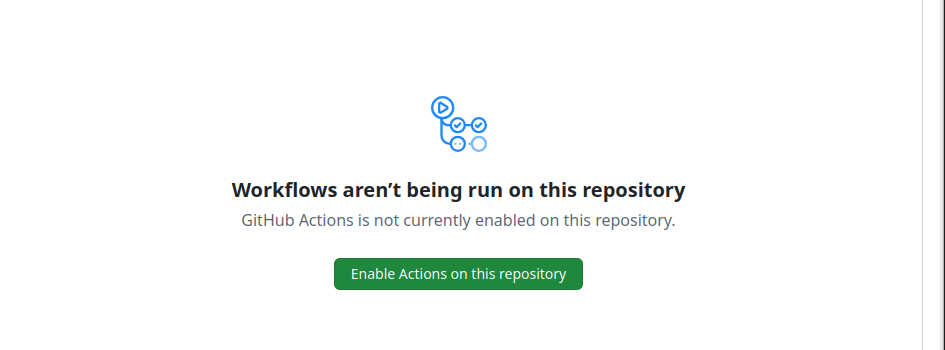
Click on the “Actions” button in the toolbar of the web page. If you see the following image, click “Enable Actions on this repository”. If not, your GitHub actions are already enabled.

3. Populate your repository with starter code
At this point your repository will be empty, and you will need to import the class starter code. The steps below describe how to populate your repository with the starter code (you will need to change the name of the repository to match your repository name in the third command). Note that you will need to have an GitHub SSH Key setup on your computer to perform this step.
You can run these commands in any directory you want (the directory will be deleted when you are done).
git clone --bare git@github.com:byu-cpe/ecen320_student.git
cd ecen320_student.git/
git push --mirror git@github.com:byu-ecen320-winter2025/320-labs-<git_useride>.git
cd ..
rm -rf ecen320_student.git
These commands perform the following steps:
- Clone the starter code repository to your local computer (this will only be used temporarily)
- Change into the cloned repository
- Push the cloned repository into your class repository (using the name of your class repository)
- Change out of the cloned repository
- Delete the cloned repository
Check to make sure your repository is properly configured by viewing it within the GitHub web interface. The URL for your repository is:
https://github.com/byu-ecen320-winter2025/320-labs-<github_username>,
where <github_username> is your GitHub username.